Supertop recently released version 2.0 of their podcast player for iOS, Castro. When I watched the trailer, the Night Mode feature in particular caught my eye. Rather, the way the feature was enabled is what caught my eye. If you watch the trailer, you’ll see that Night Mode is enabled by swiping down with two fingers from any screen, and that the transition is super-slick and seamless.
Since I really liked the transition, I thought it would be an interesting challenge to see if I could recreate it. It turned out not to be too difficult, and in this post I will be detailing how I managed to recreate the transition. If you just want to see the code, head on over to the NightModeTransition GitHub repository.
Note: Before you continue reading this post, you should make sure you’ve
watched either the Castro 2 trailer or
the gif from the NightModeTransition repository, otherwise this
post probably won’t make very much sense.
Let’s get started
There’s basically three parts or steps to recreating the demo application in the NightModeTransition GitHub repository. First we will put together a small application with some dummy content that supports different visual styles. Then we will implement the actual two-finger pan transition but without the bounciness. Finally, we will add the bounciness or stretchiness that makes the transition a lot cooler.
Note: I will gloss over some of the simpler and more mundane steps in this post since the focus is on how the transition is implemented, not on how to build an application from scratch.
1. Creating the basic application
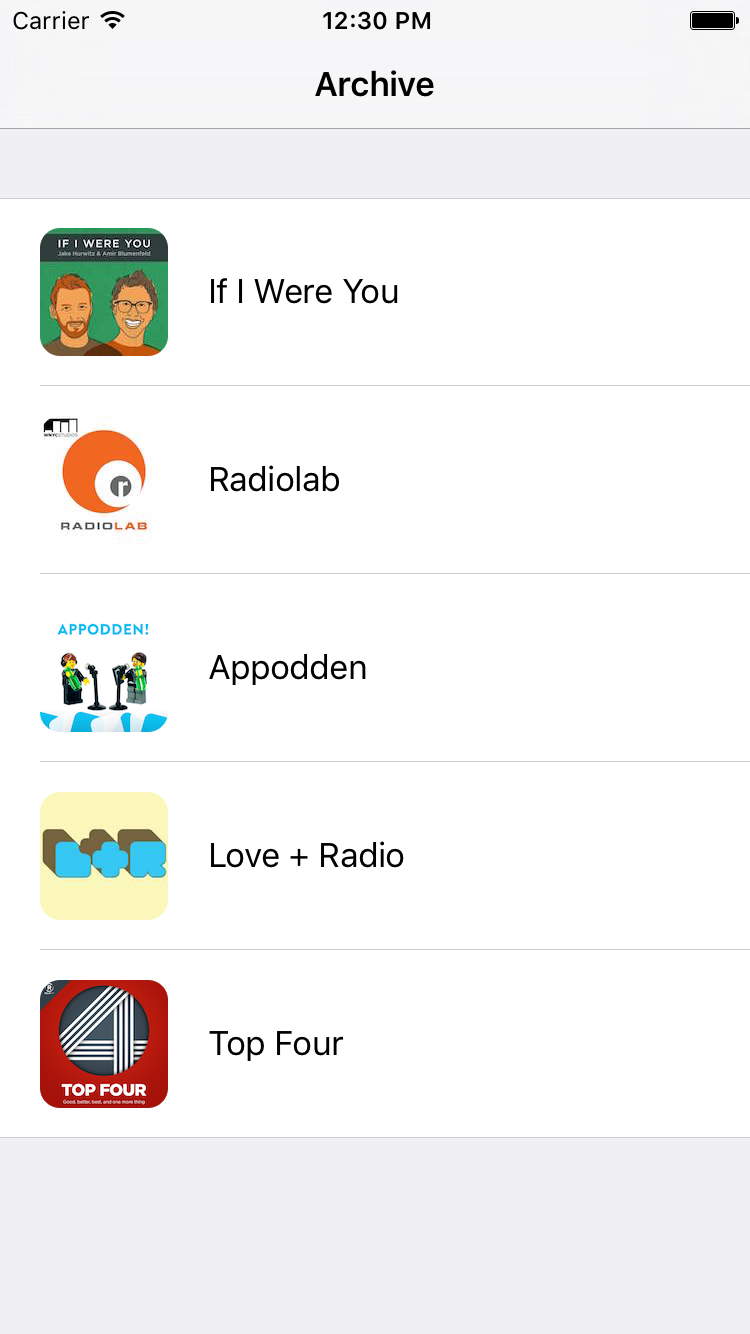
To show off the transition, we need an application that supports at least two different visual modes. The content of the application doesn’t really matter, but to get the most out of the transition the application should contain a few different UI elements.
Since I was trying to recreate the transition from Castro I figured I might as
well make the application look similar to Castro. I used a
UITableViewController with a grouped table view and static cells, embedded in
a UINavigationController. The cells use a custom UITableViewCell subclass
so that we can easily support different visual modes.
Supporting different modes
To support different modes (i.e. a Light and a Dark mode), I ended up using configuration models which Jesse Squires recently wrote about. I created a configuration model for each component (view controller, table view, cells) that had to support a different style:
struct ViewControllerStyle {
    var navigationBarStyle: UIBarStyle
    var statusBarStyle: UIStatusBarStyle
    var tableViewStyle: TableViewStyle

    static let Dark = ViewControllerStyle(...)
    static let Light = ViewControllerStyle(...)
}

struct TableViewStyle {
    var backgroundColor: UIColor
    var separatorColor: UIColor?
    var cellStyle: CellStyle

    static let Dark = TableViewStyle(...)
    static let Light = TableViewStyle(...)
}

struct CellStyle {
    var backgroundColor: UIColor
    var textColor: UIColor

    static let Light = CellStyle(...)
    static let Dark = CellStyle(...)
}
As you can see, nesting configuration models works very well. To apply the
different styles I simply implemented an apply(style:) method in the view
controller and the cell subclass.
In order to transition between the modes in the future we also need to now what mode we’re currently displaying. The simplest way of doing this is letting the view controller keep track of if we’re using the dark mode or not:
private var useDarkMode = false {
    didSet { currentStyle = useDarkMode ? .Dark : .Light }
}
With that done, we have an application that supports a Light mode and a Dark
mode, and we can toggle the current mode by changing the value of useDarkMode.
2. Transitioning between modes
The cool part of the transition is how there’s a border where anything above the border uses the new mode, and anything below the border uses the current mode. Panning so that the border ends up in the middle of some text means that the top half of the text will be one color and the bottom half will be another. Whenever you see something like this, you should immediately think “Mask!”.
Mask layers
All CALayers have a var mask: CALayer? property (since iOS 8, all UIViews
have a maskView property as well). A mask layer lets us display part of a
layer’s contents. From Apple’s documentation:
The [mask] layer’s alpha channel determines how much of the layer’s content and background shows through. Fully or partially opaque pixels allow the underlying content to show through but fully transparent pixels block that content.
Armed with this knowledge, we can surmise that the people at Supertop are using a mask to implement the transition. But wait, if we can only use the mask to selectively display part of a layer, how are they using it to display two different versions of the same UI simultaneously? The solution is to use the mask in combination with a snapshot view!
Snapshot views
iOS 7.0 introduced the concept of snapshot views along with the new method
UIView.snapshotViewAfterScreenUpdates(_:). Snapshot views let us capture the
current rendered appearance of a UIView in the form of a special UIView
object. By calling UIView.snapshotViewAfterScreenUpdates(_:), we get back a
view object that looks just like the receiver and that we can use like any other
view. This is very useful in our case since it lets us capture the appearance
of the view hierarchy in the current mode before we apply the new mode.
Putting the mask and snapshot together
Now we know what masks are and snapshots are, but how do we use them together to implement the transition? Well, it’s not too complicated. The outline of the implementation is as follows:
- When the transition begins, take a snapshot of the view hierarchy in its current state.
- Place the snapshot on top of all other content.
- Apply the new mode to the view hierarchy using
useDarkMode. This will not be visible immediately since the snapshot is covering the underlying content. - Create an opaque mask layer that has the same size as the snapshot, and use it as the mask for the snapshot. Initially, only the snapshot view will be visible.
- As the transition progresses, move the mask layer to reveal more of the underlying content (which is using the new mode).
- When the transition completes, we animate the mask layer to its final position to reveal the entire underlying content.
Note that the snapshot view is never moved; we only move the mask layer. This is what gives us the cool, seamless transition. The top edge of the mask layer is the border that separates the new mode from the previous mode. If we would move the snapshot, the two different versions of the UI wouldn’t overlap perfectly and everything would look very strange.
To drive the transition we will be using a UIPanGestureRecognizer, which
brings us to our next section.
Panning and progressing
The transition is entirely driven by a UIPanGestureRecognizer, and the
code required for this is pretty simple. We configure a pan gesture recognizer
to only recognize two-finger pans, and then act on the state of the recognizer
when the recognizer changes:
private func setupPanGestureRecognizer() {
    let panRecognizer = UIPanGestureRecognizer(target: self, action: #selector(panRecognizerDidChange(_:)))
    panRecognizer.maximumNumberOfTouches = 2
    panRecognizer.minimumNumberOfTouches = 2
    tableView.addGestureRecognizer(panRecognizer)
}

func panRecognizerDidChange(panRecognizer: UIPanGestureRecognizer) {
    switch panRecognizer.state {
    case .Began:
        beginInteractiveStyleTransition(withPanRecognizer: panRecognizer)
    case .Changed:
        adjustMaskLayer(basedOn: panRecognizer)
    case .Ended, .Failed:
        endInteractiveStyleTransition(withPanRecognizer: panRecognizer)
    default: break
    }
}
The three functions called from panRecognizerDidChange(_:) all implement part
of the aforementioned outline.
beginInteractiveStyleTransition(withPanRecognizer:) performs steps 1-4,
adjustMaskLayer(basedOn:) is responsible for step 5, and step 6 is done by
endInteractiveStyleTransition(withPanRecognizer:).
Pretty simple! With that we have an application where we can use a two-finger pan gesture to interactively transition between the Light and Dark mode. All we need now is to add some stretchiness to make the transition feel less rigid.
3. Making it stretch
This was the trickiest part of the transition. I spent almost two hours trying to figure out how they deformed the mask layer, experimenting with UIDynamics and spring animations, until I finally stumbled upon the solution practically by accident.
I knew that I most likely needed to use the velocity from the pan gesture
recognizer to deform the mask layer, but I wasn’t sure how to get the mask to
return to its non-deformed state when the user stopped moving their fingers.
After writing the code to deform the mask based on the velocity, it turned out
that no more code was needed due to how and when the
panRecognizerDidChange(_:) method is called.
Deforming the mask layer
Since we want to change the shape of the mask layer based on the velocity of the
pan gesture recognizer, and the shape we want to achieve is non-rectangular, the
most obvious choice is for us to use a CAShapeLayer as the mask layer.
When panRecognizerDidChange(_:) is called, we call a method that updates the
path property of the mask layer:
private func adjustMaskLayerPath(basedOn panRecognizer: UIPanGestureRecognizer) {
    guard let window = tableView.window else {
        return
    }

    let maskingPath = UIBezierPath()

    // Top-left corner...
    maskingPath.moveToPoint(.zero)

    // ...arc to top-right corner...
    let damping: CGFloat = 45.0
    let verticalOffset = panRecognizer.velocityInView(window).y / damping
    maskingPath.addQuadCurveToPoint(
    	CGPoint(x: window.bounds.maxX, y: 0.0),
    	controlPoint: CGPoint(x: window.bounds.midX, y: verticalOffset)
    )

    // ...to bottom-right corner...
    maskingPath.addLineToPoint(CGPoint(x: window.bounds.maxX, y: window.bounds.maxY))

    // ...to bottom-left corner...
    maskingPath.addLineToPoint(CGPoint(x: 0.0, y: window.bounds.maxY))

    // ...and close the path.
    maskingPath.closePath()

    snapshotMaskLayer?.path = maskingPath.CGPath
}
The most important part of this code are the lines that draw a quad curve using a control point whose vertical position is based on the velocity of the pan gesture recognizer. The larger the vertical velocity, the further from the edge of the mask layer the control point will end up, resulting in a more pronounced curve.
Returning the mask layer to its non-deformed state
As I mentioned earlier, it turns out that we don’t need any special code to
return the mask layer to its non-deformed state! This is due to the fact that
the pan gesture recognizer’s target selector (panRecognizerDidChange(_:) in
our case) keeps getting called periodically when the user stops moving their
fingers (but keeps them on the screen) until the calculated velocity reaches
zero. Since we change the shape layer’s path based on the velocity, decreasing
the velocity will also decrease the deformation. This is what gives us the nice
effect of the edges of the mask layer catching up with the center of the mask
layer when the user stops moving their finger. Pretty sweet!
The astute reader might have noticed that I only mentioned the scenario in which the user stops moving their fingers but keeps them on the screen. What happens if the user lifts their fingers off the screen in the middle of the panning gesture? In that case the mask layer will stay deformed, but since we animate it out of view when the pan gesture ends this is not a problem.
Wrapping up
Thanks to the power of masks and snapshots, a lot of cool animations and transitions can be implemented quite easily. Trying to recreate animations or transitions you see in other applications is a great way to gain a better understanding of how these tools can be used and what they can achieve.
Hopefully this post has given you a better understanding of how Supertop has implemented the Night Mode transition in Castro 2. Don’t forget to check out the code in the NightModeTransition GitHub repository for some details that I didn’t mention in the post, and to try out the demo application for yourself!
If you have any questions or feedback about this post, you can reach out to me on Twitter at @boerworz.